Agents stop improvising
Each task carries a description, acceptance criteria, and an implementation plan. The agent states what it will do before it writes a line of code, and you read it before it runs.
Backlog.md stores tasks, acceptance criteria, implementation plans, and execution notes as Markdown files in your repository. No database, no black box. Agents break down and execute the work, you approve at three checkpoints.
$ npm i -g @kuwork/backlog.md
No account needed Works offline macOS, Linux, Windows
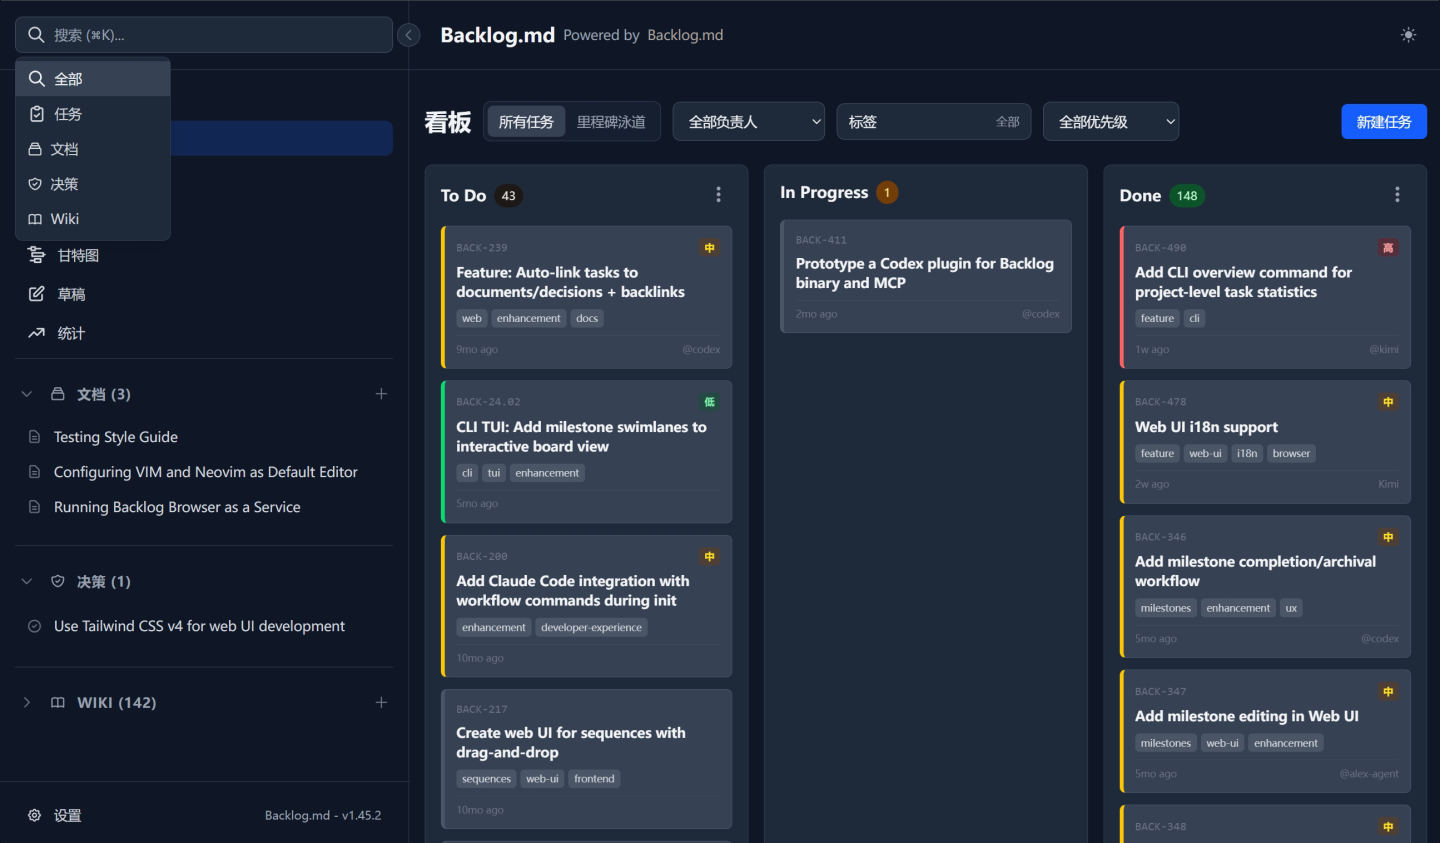
Every
agent
run
leaves
something
you
can
review.
Tasks
are
readable
Markdown,
progress
is
a
reviewable
Git
diff,
knowledge
compounds
into
a
searchable
Wiki.
Hand a requirement to an agent and it will produce a function that runs. But it does not know what comes next, does not know where the boundary is, and will not tell you which calls it made on your behalf. Once the context grows, the direction drifts, and you spend an afternoon reading what it changed.
Every task is a Markdown file with a description, acceptance criteria, and an implementation plan. The agent writes down what it will do before it writes code, and waits for your approval. Tasks move into version control with the code, so they can be diffed, reviewed, searched, and archived.
Four concrete outcomes: direction holds, review has handles, data stays local, knowledge accumulates.
Each task carries a description, acceptance criteria, and an implementation plan. The agent states what it will do before it writes a line of code, and you read it before it runs.
Spec, plan, and result are approved separately. A wrong direction stops before the first line of code, not after a thousand line diff.
Everything is stored in local Markdown files inside the project. No cloud account, no subscription, works offline, and Git is optional.
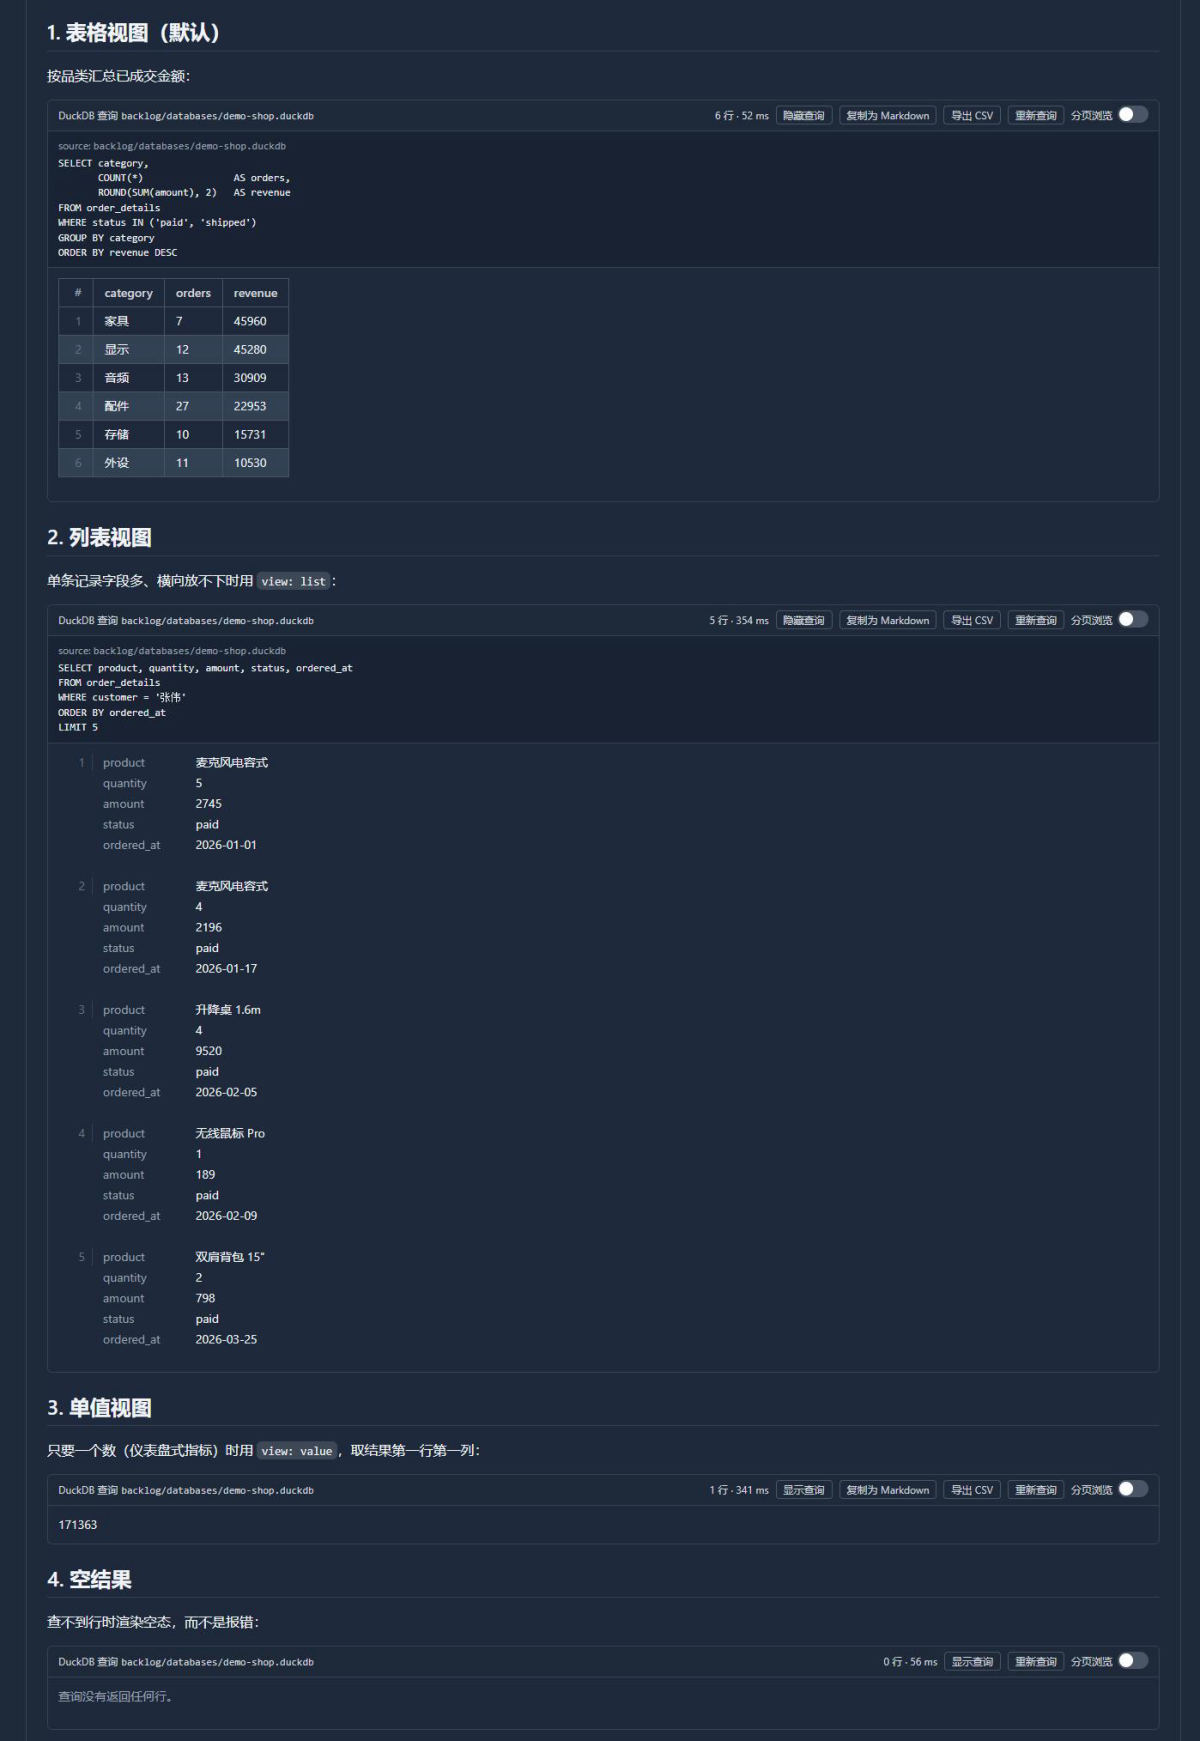
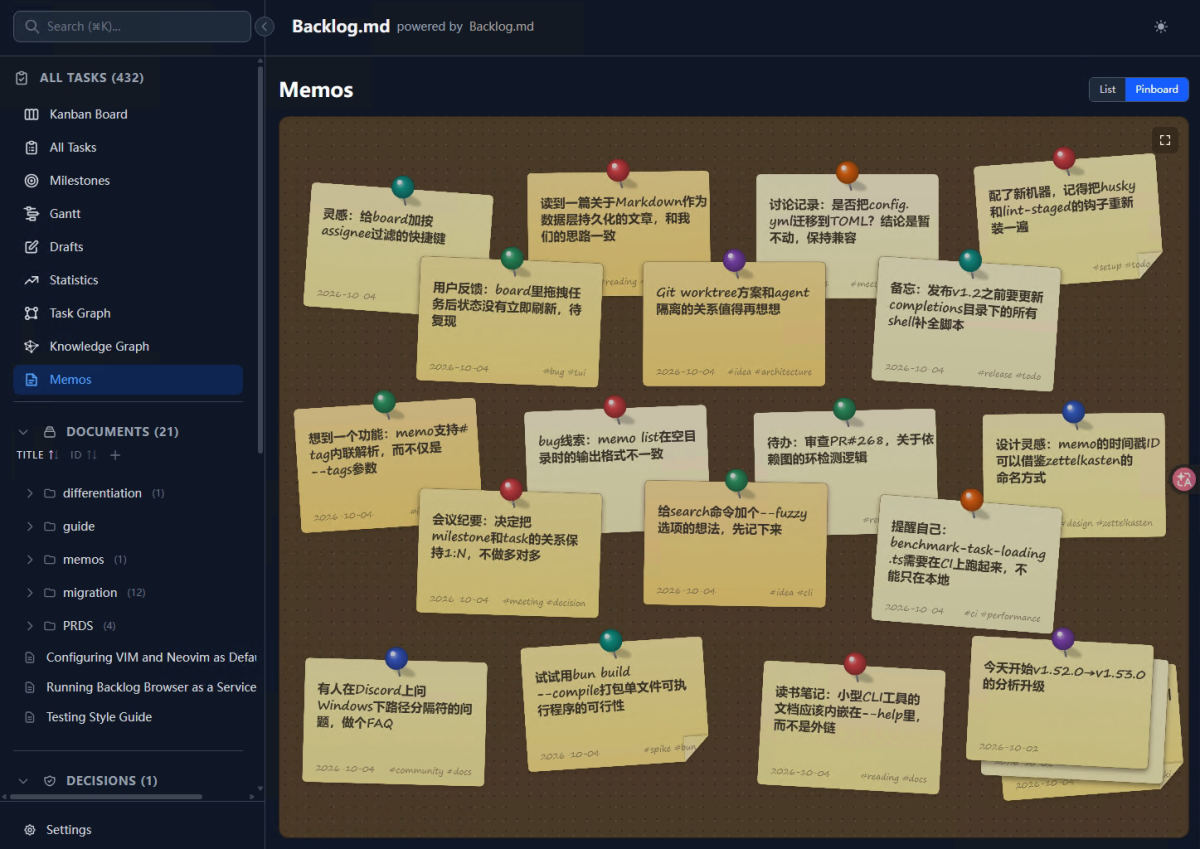
The LLM Wiki turns tasks, docs, and decisions into a searchable project memory, so a new session never starts from zero.
Initialize, decompose and plan, review and capture. Each step has a clear handoff.
Run one command inside any Git repository and pick CLI instructions or MCP for your agent. You can also skip AI and use it as a plain task manager.
Describe the idea. The agent creates tasks with acceptance criteria, researches the codebase, writes the implementation plan, then stops for your approval.
Read the diff, run the tests, check the acceptance criteria. Once it passes, write the summary and the knowledge lands in the Wiki as input for the next step.
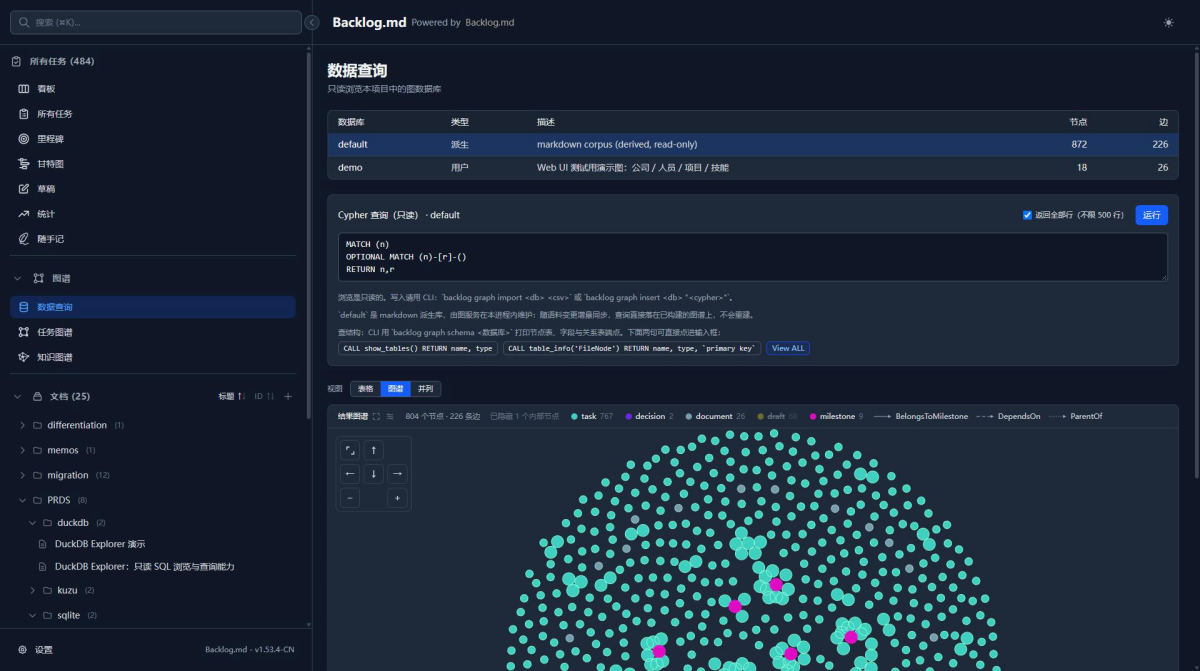
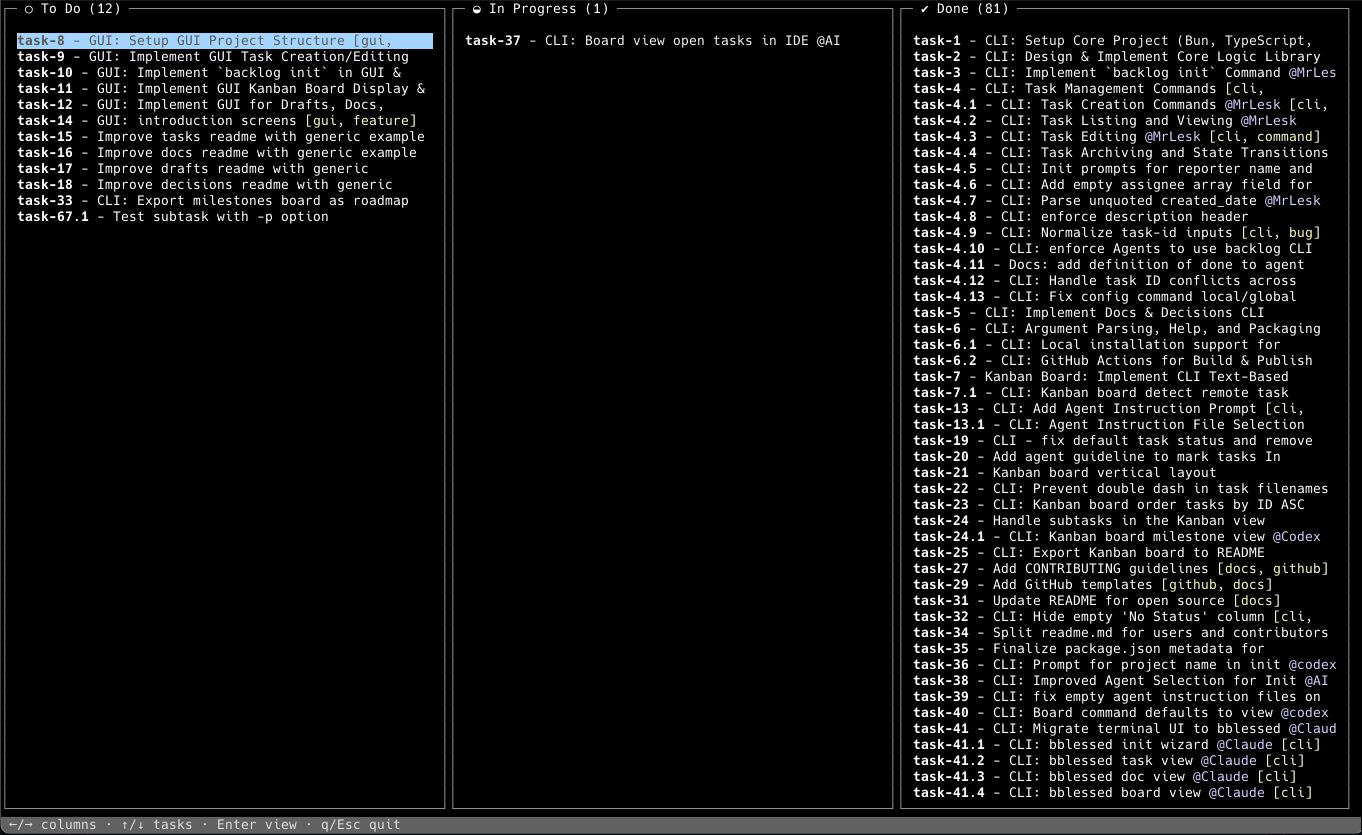
Terminal, web interface, MCP, and CLI all read and write the same Markdown files, so you can switch at any time.
CLI instructions are the default path, so any agent that can run a command can start working. If you prefer MCP, backlog init can configure it for you.
No. Everything lives in the local backlog folder inside your project. There is no cloud account, no subscription, and it works offline.
Tasks are Markdown files in your repository. They enter version control with the code, so they can be diffed, reviewed, searched, and archived. It is also built for agents, with CLI instructions and an MCP interface so an agent can work the tasks directly while a human reviews the checkpoints.
Anything that can run a command or speak MCP, including Claude Code, Codex, Gemini CLI, Kiro, and Cursor. CLI instructions are the recommended path: the agent runs backlog instructions overview and gets the current workflow guide.
Inside the project backlog directory, backlog/ or .backlog/ by default, configurable to another project relative path in backlog.config.yml. Tasks themselves are plain Markdown files you can read.
Yes. The terminal commands and the web interface both work on their own, and every change stays in sync with the Markdown files. You can move between manual and AI assisted work at any time.
Run backlog init inside an existing repository. With no Git, use backlog init --no-git to create a file system only project, which turns off cross branch checks, remote operations, and auto commit.
CLI instructions are the default recommendation, since backlog instructions overview returns the workflow guide for the installed version instead of a stale copy. If you prefer MCP, backlog init can configure Claude Code, Codex, Gemini CLI, Kiro, or Cursor for you.
No. It binds to 127.0.0.1 by default, so only the local machine can reach it. Use backlog browser --host 0.0.0.0 only when you need LAN access, and note that the API is unauthenticated.
Yes. Tasks enter version control with the code, so your normal review flow applies. Auto commit is off by default, which suits teams that want control over history. Solo or automated workflows can turn it on for one commit per action.
MIT licensed. Free for personal and commercial use, as long as you keep the attribution.
macOS, Linux, and Windows. Install with npm, bun, Homebrew, or Nix.
MIT licensed, data in your own repository, no account, no cloud dependency. Install it and run backlog init once to see what it does.
Also available as bun add -g @kuwork/backlog.md, brew install backlog-md, or nix run github:kuwork/Backlog.md